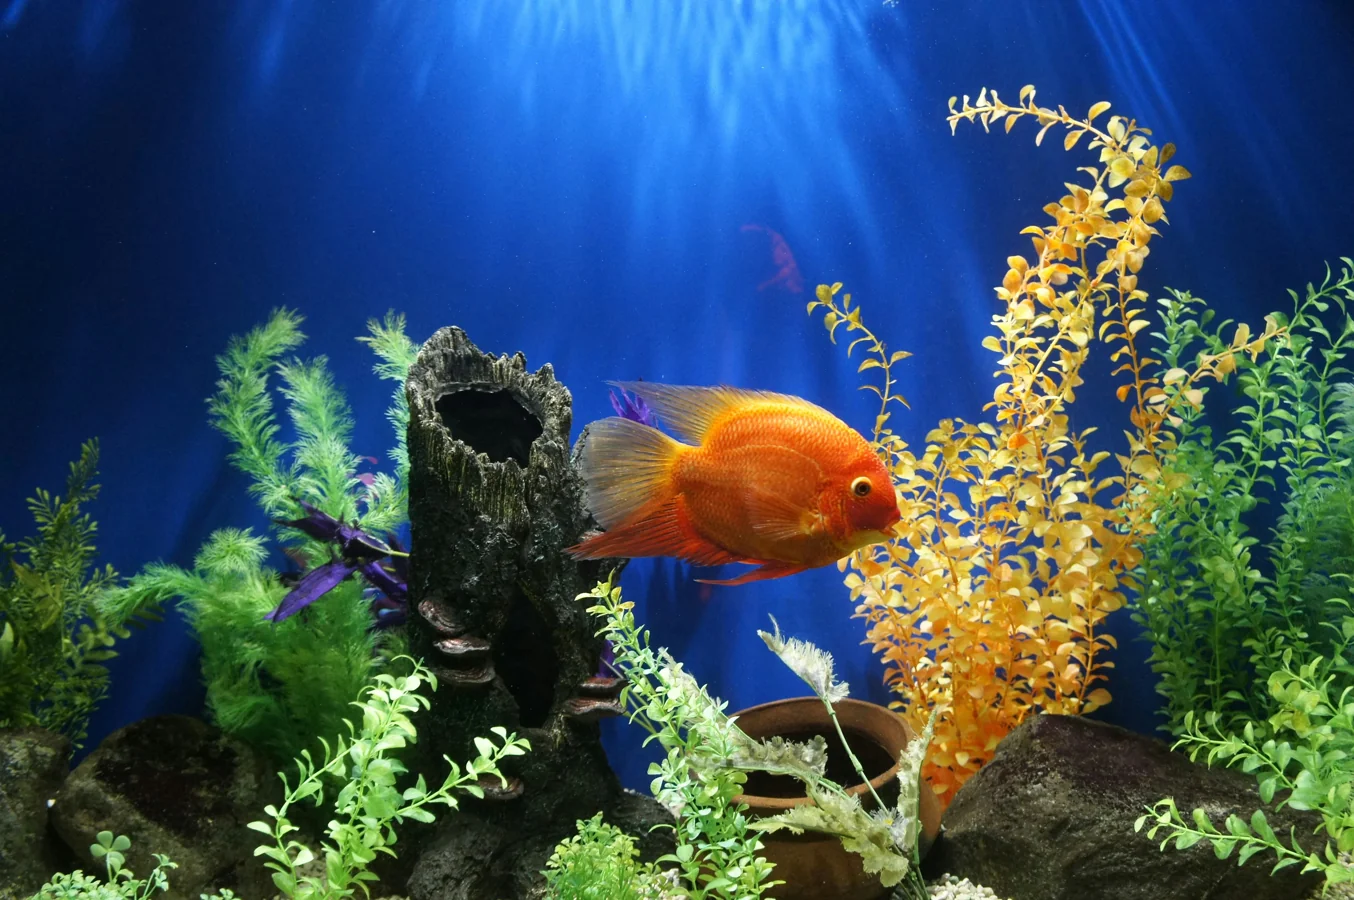
You’ve built a stunning aquarium, but your photos look nothing like the Instagram inspiration. Aquarium photography has unique challenges – glass reflections, poor lighting, moving fish, and the dreaded blue wash from LED lights. With a few simple techniques, you can capture professional‑looking images using just your smartphone.
Equipment – You Probably Already Have What You Need
A DSLR is great, but not necessary. Most modern smartphones (iPhone 11+ or equivalent Android) have excellent cameras capable of pro‑level aquarium shots. Recommended accessories under ₹1,000:
- Polarising filter sheet: Place directly against the glass to eliminate glare and reflections.
- Clip‑on macro lens: For close‑ups of shrimp, snails, and small fish (₹500‑800).
- Mini tripod or phone holder: Keeps the phone perfectly still.
- Black or white cardboard sheet: Blocks room reflections from the back glass.
Lighting – The Most Important Factor
Best time to shoot: Early morning or late afternoon, when room light is soft and balanced.
Lighting setup: Turn off all room lights – only the aquarium light should be on. This prevents distracting reflections. If your aquarium light is too dim, add a temporary desk lamp with a daylight bulb (6500K) angled from above.
Avoid the blue cast: Most LED lights are too blue. If your phone allows custom white balance, set it around 6500K‑7500K. Alternatively, edit later by reducing blue tones and slightly warming the image.
Shooting Techniques – Step by Step
1. Clean the glass: Inside and out. Use a glass cleaner on the outside (spray onto cloth, not onto the tank). Any speck will show up.
2. Eliminate reflections: Press your phone lens directly against the glass. Use a polarising filter sheet to cut remaining reflections.
3. Stabilise the camera: Even slight hand shake blurs moving fish. Use a tripod or rest your phone against the tank rim. Enable the 3‑second timer to avoid camera shake from tapping the shutter.
4. Manual focus: Tap on the fish’s eye on your phone screen – this locks focus on the subject.
5. Adjust exposure: Swipe down on the screen to reduce exposure slightly. Aquarium lights are often too bright for cameras, causing overexposed highlights.
6. Burst mode: Fish move constantly. Use burst mode (hold the shutter button) to capture 10‑20 frames quickly – you’ll likely get one perfect shot.
Camera Settings (Pro Mode)
If your phone has a manual mode:
- ISO: Keep as low as possible (100‑400) – high ISO adds noise. Increase if fish are too dark.
- Shutter speed: 1/125 to 1/250 for slow fish, 1/500+ for fast swimmers. Faster shutter speed reduces blur.
- White balance: Custom set to 6500K‑7500K or use a white reference card.
Composition – Make Your Photos Look Professional
- Rule of thirds: Place your subject at the intersection points of imaginary grid lines.
- Negative space: Leave open water around the subject – don’t crowd the frame.
- Eye level: Shoot from the same height as the fish. For bottom‑dwellers, bring your camera down to their level.
- Leading lines: Use driftwood, rocks, or plant stems to guide the viewer’s eye to the subject.
- Side lighting: Position the light from the side for dramatic shadows that reveal texture.
Video Tips for Reels and Shorts
Frame rate: 30fps or 60fps for smooth motion.
Slow motion: Shoot at 120fps or 240fps for dramatic fish movements (betta flaring, angelfish turning).
Stabilise: Use a gimbal or tripod – shaky video is unwatchable.
Subject following: Pre‑focus on a spot where fish frequently swim, then start recording and wait.
Editing – The Final Touch
Free apps: Snapseed (Android/iOS), Lightroom Mobile (free version). Basic edits:
- Increase contrast slightly (10‑20%) – adds punch without losing detail.
- Reduce highlights if the tank light is too bright.
- Warm up the temperature – most aquarium photos are too blue.
- Sharpen moderately – don’t over‑sharpen (creates noise).
- Crop to remove distracting elements at the edges.
Common Problems and Solutions
- Reflections on glass: Polarising filter sheet + turning off room lights + shooting in a dark room.
- Blurry fish: Use burst mode; increase shutter speed to 1/500 or higher.
- Green/yellow tint: Adjust white balance – use a white coffee filter as reference.
- Dark photos: Increase ISO (adds grain) or open aperture if possible. Add temporary side lighting.
- Videos look dull: Install a free video editing app (CapCut, InShot) – increase saturation and add subtle vignette.
Hashtags for Reach (Instagram and TikTok)
#AquariumPhotography #FishKeeping #Aquascaping #NanoTank #FishTok #PlantedTank #FreshwaterAquarium #AquariumLife #BettaFish #AquariumHobby